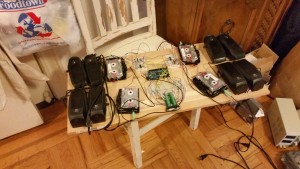
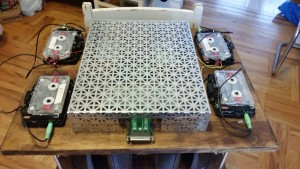
For my final project for fabrication, I decided to build an “amp” to go with the guitar I made earlier, to hold and display the output portion of my final Physical Computing project – four walkmen, four sets of computer speakers, and a really big, ugly circuit. When I initially presented it, all the components were staged on a board:
Pretty good for transport, not so much for display, and very little flair.
My idea was to make something that used ideas from old stereos and musical equipment but updated and tweaked them. I decided I would build a wooden cabinet, and crown it with a metal grille/enclosure that would somewhat obscure the circuit while allowing the other elements to be displayed more prominently.
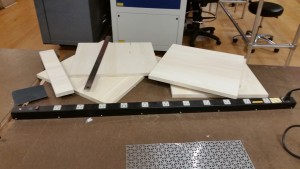
I began with a trip to Lowe’s. I wanted to avoid using plywood if possible, but I knew that, with the dimensions of the cabinet being what they are (~18 x 18 x 21), it would be very difficult to find (and even more difficult to afford) solid boards wide enough. I found some edge-glued aspen panels that were quite reasonable, and bought enough to do the job. I also picked up a sheet of union-jack decorative aluminum radiator cover (my new standard, apparently), “mission oak” stain, some aluminum rod and various bits of hardware.
My first step on the actual project was cutting the panels to size using the panel saw:
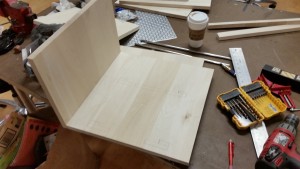
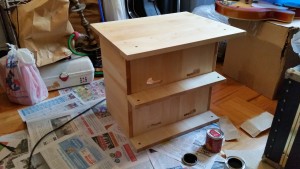
I then corner-clamped, screwed and glued the panels together to make the body of the cabinet.
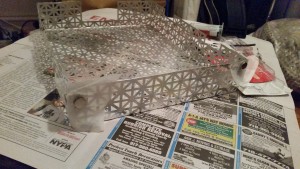
Once I had accomplished that, I cut out and bent the aluminum for the top, using the electric nibbler (amazing!) a regular nibbler (equally amazing!) and the press brake.
I then cut down my aluminum rod and polished it with the bench grinder and tripoli compound. I was amazed at how easily the aluminum took a shine (my previous polishing experiences having been with 304 stainless and copper plates), and then amazed at how many deep nicks and scratches were on the rod from its time on the shelf at Lowe’s. In retrospect, I should not have been amazed. Oh well, it’s still shiny.
I then got the whole thing assembled (using corner braces to attach the middle shelf) and filled my screw-holes with wood filler.
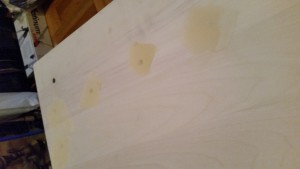
Next step was to sand and stain. I sanded everything down, treated the wood with pre-stain, and brushed on the stain.
I then needed to stabilize the aluminum box for the top. I used corner braces and 5-minute epoxy, holding the corners in place with magnets while the epoxy set.
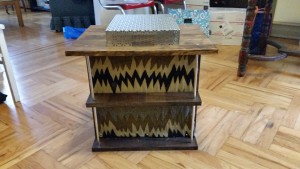
And then I temporarily removed the middle shelf and attached a piece of fabric to the back wall with upholstery tacks, both to add visual interest (and provide another “amp” element) and to cover the rather unsightly holes I had to bore to allow the cords of the speakers to pass through into the back (where the power supply will go). Then I drove the aluminum rods into position, and it was done!
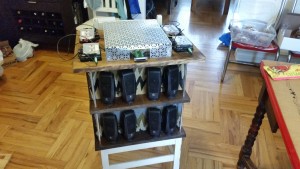
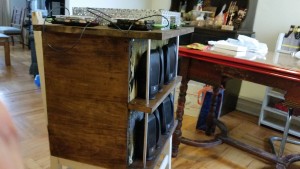
With the electronics installed, it looks like this:
All in all, I’m pretty happy with it. There are definitely things I would build differently if I had to make it again, but it’s a definite improvement over the board.

One response to ““Amplifier””